by Ola Ajibode | May 1, 2023 | Automation, Bash, General, Python
Conda is a popular open-source package manager and environment management system used for Python programming language. It is widely used by data scientists and machine learning engineers for managing packages and dependencies. In some cases, you may need to remove all environments in Conda. This can be helpful when you want to start with a clean slate or when you want to switch to a different version of Conda. In this blog post, we will discuss how to remove all environments in Conda.
Before we begin, it is important to note that removing all environments in Conda will delete all your existing environments and their associated packages. This process is irreversible, so it is recommended that you create a backup of your environment and package information before proceeding with the removal process. You can follow the steps below to achieve your goal.
Step 1: Open the Anaconda prompt or terminal The first step to removing all environments in Conda is to open the Anaconda prompt or terminal. You can do this by searching for “Anaconda prompt” or “Anaconda terminal” in your operating system’s search bar.
Step 2: Deactivate all active environments Before you can remove all environments, you must first deactivate all active environments. You can do this by running the following command in the Anaconda prompt or terminal:
conda deactivate
This will deactivate all active environments, and you will see that your prompt or terminal no longer displays the name of the active environment.
Step 3: Remove all environments To remove all environments in Conda, you can use the conda env list command to list all existing environments, and then use a loop to remove each environment one by one. Run the following commands in the Anaconda prompt or terminal:
conda env list
This command will list all the environments that you have created in Conda. Make sure that you have deactivated all active environments before running the following command:
for env in $(conda env list | awk '{print $1}' | grep -v '#' | grep -v 'base' | grep -v 'Name'); do
    conda remove --name $env --all -y
done
This loop will remove all environments except for the base environment, which is the default environment created by Conda.
Step 4: Confirm removal After running the loop to remove all environments, you can confirm that all environments have been removed by running the conda env list command again. This command should now display only the base environment.
In conclusion, removing all environments in Conda is a simple process that involves deactivating all active environments and then using a loop to remove each environment one by one. It is important to note that this process is irreversible, so it is recommended that you create a backup of your environment and package information before proceeding with the removal process.

by Ola Ajibode | Jun 9, 2020 | Automation, Bash, General, Shell
Docker has changed our world. A very useful component in the toolbox of any Software Engineer or perhaps, any forward-thinking company. What is Docker? Why Docker? and other questions relating to the topic starts here: Docker
Sometimes, you are just too annoyed with the state of your machine and need to stop all running containers, here is a simple command:
#stop all running docker containers
docker stop $(docker ps -a -q)
#remove all docker containers
docker rm $(docker ps -a -q)
Unfortunately, that’s still not enough for the lazy engineer, simply add this as an alias in your bash/zsh profile and then you can call that command in a consistent and easy manner.
#!/usr/bin sh
#I am either .bashrc or .zshrc or .bash_profile or whatever profile you use
alias docker_stop_all='docker stop $(docker ps -a -q)'
alias docker_remove_all='docker rm $(docker ps -a -q)'
Hope this helps.

by Ola Ajibode | Dec 11, 2018 | Bash, Devops, Shell
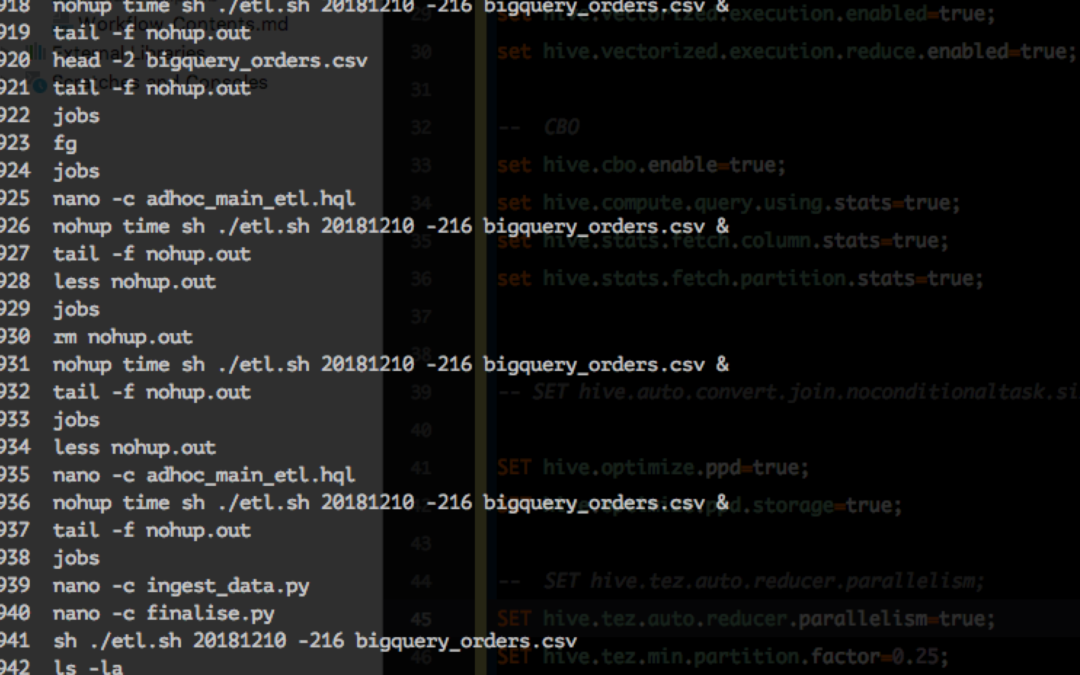
Sometimes while working on the terminal or commandline as you know it, the history becomes clogged with simple common commands like ls -al and you want to remove X number of lines to keep your history compact and relevant. Here’s a simple command that works:
for i in {1..total_count}; do history -d start_from; done
This deletes a total of total_count amount of history starting from line number start_from in your history. Make your Shell clean again!
Usage:
for i in {1..40}; do history -d 1000; done
Enjoy.

by Ola Ajibode | Dec 21, 2015 | Automation, AWS, Bash, BigData, Shell, Test Automation
BigData and Agile seem not to be friendly in the past but that is no more the case. One of the important points in processes data is data integrity. Assuming you are pulling data from an API(Application Programming Interface) and performing some processing on the result before dumping as utf-8 gzipped csv files on Amazon’s S3. The task is to confirm that the files are properly encoded(UTF-8), each file has the appropriate headers, each row in each file do not have missing data and finally produce a report with filenames, column count, records count and encoding type. There are many languages today and we can use any BUT speed is of great importance. also, we want to have a Jenkins (Continuous Integration Server) job running.
I have decided to use Bash to perform these checks and will do it twice! First, I will use basic Bash commands and then will use the csvkit (http://csvkit.readthedocs.org/). The other tool in the mix is the AWS commandline tool(aws-cli)

by Ola Ajibode | Dec 3, 2015 | Automation, Bash, Shell, Test Automation
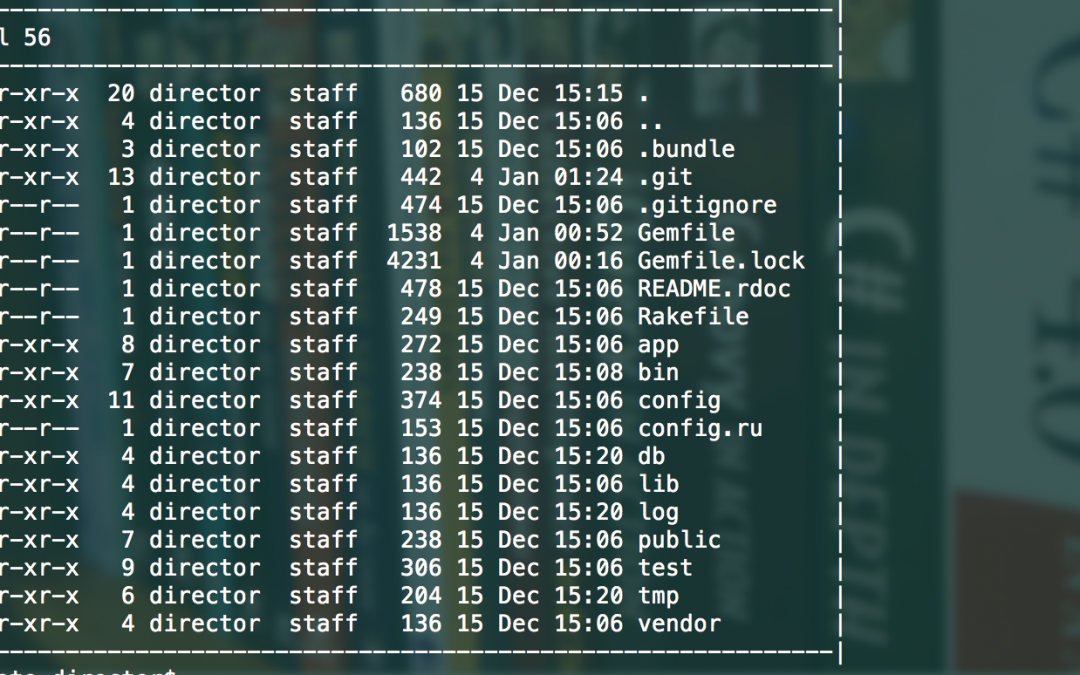
On the commandline (terminal) in the *nix world, when you need to list all the files in a directory but ignore some based on file extension e.g. pdf, sh, tsv etc. Then the command below is quite appropriate. Remember to update the list of extensions you want to ignore i.e. “sh|tsv|rb|properties”
ls -l | grep -Ev '\.(sh|tsv|rb|properties)$' | column
Let me know if this is useful.


